Are you ready for another class? Great! Now we are going to cover one more pitfall, and then we start shooting jewelry.
Lens doesn’t work
Now what? A lens worth of hundreds of dollars seems to have a mind of its own. It doesn’t work like it’s supposed to. The aperture ring must be stuck or something… You’re right, it says on the box that the biggest aperture is f/2.8. You set your camera on manual mode and try to change the aperture. Nope, doesn’t work. Then you try to set the smallest aperture only followed by equal amazement. The numbers on the screen go way higher than f/32. What happened? Did my camera or lens just flip out? Before you start sending your lens to warranty inspection you should learn one more thing.
Effective aperture
Effective aperture is a term that often comes up when someone speaks about macro photography. It’s only understandable that if you have only just started learning photography you would naturally assume that macro lenses work like any other lenses. Working in the world of macro will require more learning. The amount of light that is received by camera’s sensor is decreased, when your subject is really close. This happens when your subject is displayed in natural size by your camera. Even if you would set your aperture to f/2.8, the amount of light that is received by your camera would be close to same if your aperture would be f/5.6. Your physical aperture ring is still set to f/2.8 but the effect is same as with f/5.6. Why this happens would require a technical explanation with diagrams. It is more important to know that it does happen, and adjust accordingly. You’ll need to either increase your lighting, set longer shutter speed or higher ISO. Otherwise your image will be darker than you expected (NOTE. All camera bodies do not show the effective aperture on the display screen).
Now we have covered the basics of macro photography. I did simplify some things, and what you’ll experience with your own camera might not be exactly the same. If you want to learn more (and there is more), there are many interesting resources available on the web.
Shooting jewelry
As the name says, macro is at its best when shooting smaller objects. Rings, earrings, brooches or details of some other decorations are great subjects for macro use. If you are shooting bigger objects or complete necklaces then your camera is already so far away from your subject that using macro lens might not be the only/best option. This time I will take a picture of a ring.
One can’t overemphasize the importance of careful preparation in photo shoots. A good plan will produce better results, and your post-production process requires less work. The most important thing is to find the right lighting and composition for your shot. When everything starts to look good through the viewfinder, then it’s time to figure out the right settings for your camera. When you are shooting an image like this it is better to set everything yourself and not rely on automatics. Choose appropriate aperture, shutter speed and ISO. Don’t forget to set the right white balance. A good image is often result of experience, but if you lack experience don’t worry. Trying out different things and taking test shots will carry you long way, and you’ll learn in the process.
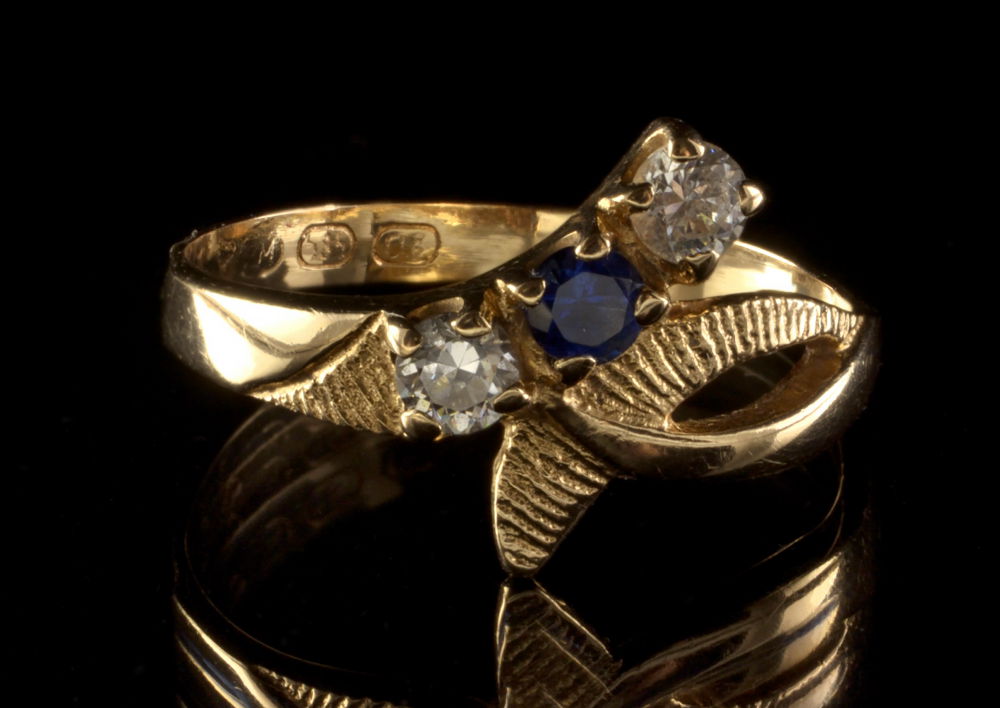
Shutter speed 1,3 s, ISO 400, f/36
Here we have an untouched, uncropped shot of a ring. What can you see? It’s not a great shot, but it’s okay though. The image is not sharp all the way thru and there are some issues. Let’s do some cropping.
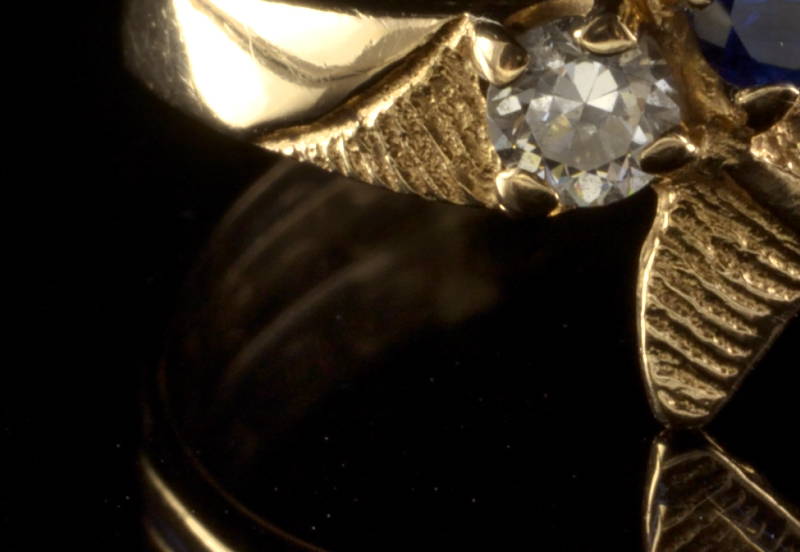
Specs of dust!
The ring is set on a dark glass which was thoroughly cleaned with non-linting cloth. But there are still some white dots on the lower left area of the image. What are they? Specs of dust! No matter how well you clean the glass, there will always be some dust around. Your best option is to use canned air, and it’s always good to have some in your camera bag. Just be careful when you use it, or the ring flies away too.
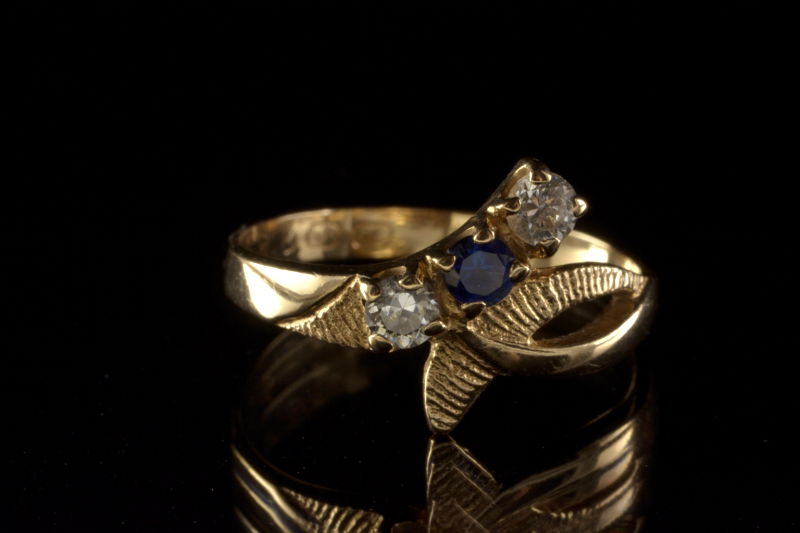
A good result often requires combining several shots with image processing software (this was done with GIMP). To explain how it was done would require a tutorial of its own. I used the software also to remove the last specs of dust and cropped the image moderately. Here’s the result.

The result
The ring is quite small, only 16 mm (0.63 inches) in diameter. Still, the many details come out clearly. In my opinion, this is the biggest advantage of macro lenses. Getting the same result with other lenses would not be this simple.
Tutorials
Maybe the most important thing in this blog is our tutorials. We know you like them, and it’s nice to appreciated. The images we use might not always be perfect, but we think that it’s more important to get our message across than deliver perfect pictures. Usually we use the kit-lens and heavy cropping.
Common lens, starting point
Same image after cropping.
Macro lens, uncropped. Even the unintentional cat hair shows clearly.
Using a macro lens when doing tutorials would be simpler, and the image looks more natural and esthetically more pleasing, don’t you think?
My thoughts about this lens
Tamron’s new product line sets the bar higher with technical advantages, and with new exterior design, when compared to older models. This is a good lens, there’s no doubt about it. The only thing that I don’t like is the feel of the metal exterior. Compared to the matt finish on the 70-200 mm lens, the new lens doesn’t feel quite right in my hands. The smooth metal finish is quickly covered with sweaty fingerprints, and the moisture coming froms my hands collects all kind of dusty lint real fast, and it also makes it slippery. That being said, I would still probably buy this lens even though it’s not next on my list. The overall experience was good, and I’m pleased with the results. It’s not cheap though. Maybe we should put up an Amazon wishlist :)
Shooting jewelry with macro lens part 1